San Antonio has a long and storied history of severe weather events. Even though the city is technically out of reach of Tornado Alley, it can still experience:
- Severe thunderstorms 🌧️
- Lightning 🌩️
- Hail 🧊
- High winds 🌬️
- Fires (caused by the above conditions) 🔥
When severe weather hits, it can cause an emergency before you know it. In the aftermath of just such an emergency, you might realize that you have a damaged roof. From water leaks to hail damage, a damaged roof requires an immediate temporary fix to prevent structural damage until you can call a roofing professional.
If you know what you’re doing, emergency roof repair is completely achievable by the average homeowner. Keep reading for a few tips to keep in mind while you complete a temporary solution for your roof.
1. Stay Safe and Remain Calm ✌️
The first step in an emergency roof repair is to keep yourself safe. It’s no use trying to save your roof if you have to put yourself in harm’s way in order to do so.
Wait until the severe weather event has passed before going on your roof. In case this doesn’t go without saying, climbing on your roof in heavy rains or high winds is extremely dangerous and should never be attempted.

When it is safe to get on your roof, make sure to wear protective clothing. Long sleeves, gloves, and eye protection go a long way toward protecting you from most bodily injuries that can occur during emergency roof repairs.
If you’re using a ladder, always have someone on the ground hold it for you. In general, avoid walking on the roof until you can thoroughly assess the damage, as you don’t know whether it’ll be able to hold your weight.
Above all, stay calm. You won’t be able to properly perform temporary repairs if you’re worked up, and you might also put yourself or others in danger if you’re not in the right state of mind to be slow and intentional with your movements when you’re on your roof.
2. Document Everything 📁
Before you move or repair anything, take pictures and notes of any damage you notice, including:
- Missing shingles
- Fallen branches
- Tears, cracks, or holes in the roofing material
- Torn gutters
- Damaged flashing
If or when you file a claim with your insurance company, you’ll need these photos and notes to provide proof of the timing and severity of the damage. This documentation will also help your roofing contractor to understand the extent of the damage and see what work you did on your own when they come to inspect your property.
3. Get Rid of Fallen Branches and Other Debris 🍂
Once you’ve thoroughly documented the current state of your roof, you can start to remove fallen branches and other heavy objects that have fallen on top of your roof. Leaving this debris on the roof’s surface may weaken the roofing materials and provide opportunities for mildew and mold growth, so it’s important to remove these objects from your roof as soon as possible. Try to avoid causing additional damage to your roof while completing this step.
4. Cover Up the Roof and Perform Minor Repairs 🔨

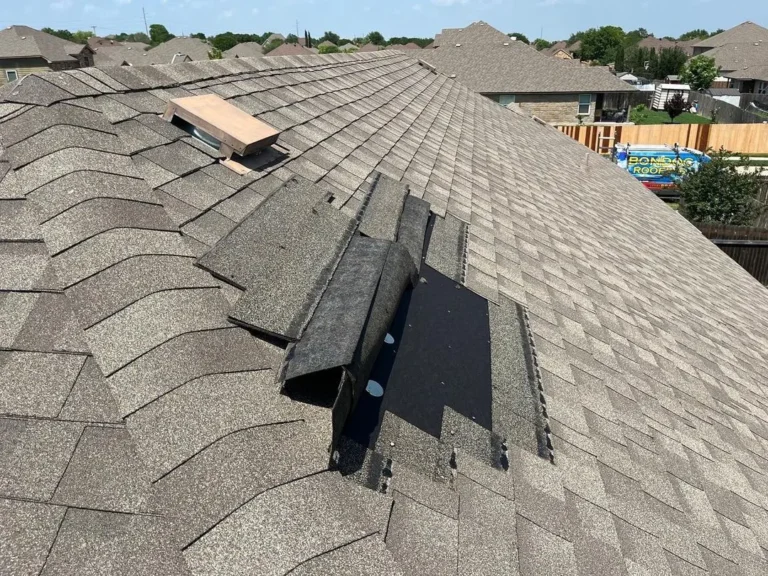
Once you have a clear roof surface, it should be relatively easy to see where the major holes and tears in the roof are located. Even a single missing shingle creates an opportunity for a leak to start, so take the time you need to fully visually inspect your roof during this step in the process.
Cover large holes with a roofing tarp weighted down at the edges. This should hold long enough for a roofing contractor to come to your property and do a permanent patch on the hole.
For smaller holes, fill them in with caulk or roof cement. Feel free to replace a shingle or two if you only have a couple of them missing.
Only do small repairs on your own, and only do them if you’re completely confident you can do them well. Inexperienced homeowners sometimes get in trouble when they incorrectly perform a repair, only to find out they’ve actually caused more damage to their roofs. In the worst cases, this can affect your ability to file an insurance claim or void the warranty on your roof.
We don’t say this to scare you away from doing any repairs on your own, but we do encourage you to proceed with a lot of caution.
5. Keep An Eye Out for Leaks 💧
Ideally, laying down a tarp on your roof will protect your home from most leaks. If you do discover dripping inside your home, though, it’s imperative that you find a way to control the leaking until a roofing professional to come do permanent repairs.
Collect the drips with buckets or other vessels. Try to dry out your attic and roof as much as you can. Keep an eye out for mold growth on your roof, in your attic, and on your walls and ceilings, and let your roofing contractor know what you discover.
6. Take the Opportunity to Clear Your Gutters 🧹
While you’re up on the roof anyway, take the opportunity to check out your gutters and downspouts. If the storm left debris cluttering your gutters, clear as much of it out as you can. While you’re waiting for your contractor to repair your shingles or other roofing material, you need to avoid having pooling water on your roof’s surface.
Emergency Roof Repair Done Right
The next time you find yourself in an emergency roof repair situation, try one of these tips as a stopgap to prevent further damage to your roof and property.
While the tips above can help you with a pinch, they won’t be able to provide you with a long-term solution. For professional attention on your roof repairs, there’s no better contractor than Bondoc Roofing. With high levels of workmanship and expertise in insurance claims, we’ll help you minimize your costs and protect your home for years to come.
Looking for someone to assess your storm damage? Contact us to schedule your free inspection today!